Guía · 12 min de lectura · 2,517 words
De la Intuición al Hábito: Creando su Lista de Verificación de Entrada de Cinco Puntos
Aprenda a transformar ideas de trading vagas en una lista de verificación de entrada de cinco puntos concreta y repetible, aportando precisión y consistencia a cada operación.

Conclusiones clave
- Las estrategias de trading vagas conducen a resultados inconsistentes y a la toma de decisiones emocional.
- Una lista de verificación de entrada de cinco puntos impone reglas objetivas para el contexto del mercado, la configuración, el disparador, el riesgo y la salida.
- Cada punto de su lista de verificación necesita criterios claros y cuantificables, no sentimientos subjetivos.
- El tamaño de la posición basado en su stop loss y el porcentaje de riesgo de la cuenta es no negociable para la preservación del capital.
- Revisar y refinar regularmente su lista de verificación ayuda a adaptarse a los cambios del mercado y mejora la disciplina.
- Una lista de verificación bien definida es una herramienta poderosa contra el trading emocional y promueve la consistencia psicológica.
El Muro Invisible de la 'Intuición' en el Trading
Muchos traders comienzan con una intuición, un 'pálpito' sobre hacia dónde podría dirigirse el mercado. Quizás ven los precios subir y piensan: "Esto parece fuerte, debería comprar". O una acción cae y el pensamiento es: "Ahora está barata, es hora de entrar". Si bien estas observaciones iniciales pueden encender una idea, depender únicamente de ellas construye un muro invisible entre usted y los resultados consistentes. Sin reglas claras y objetivas, cada operación se convierte en una decisión única y emocional, dejándole preguntándose por qué algunas operaciones funcionan y otras no.
Imagine intentar construir un mueble complejo sin instrucciones. Puede que tenga las herramientas y los materiales adecuados, pero sin un plan, probablemente terminaría con algo inestable, incompleto o simplemente no lo que pretendía. Operar sin una estrategia precisa, sin una lista de verificación, es muy similar. Puede que tenga suerte a veces, pero no podrá repetir sus éxitos de forma fiable, ni entenderá por qué ocurrieron los fallos. Esta ambigüedad es donde la mayoría de los traders luchan, pasando por estrategias, plataformas e instrumentos sin abordar nunca el problema central: la falta de un proceso de trading definido.
Esto no se trata de reprimir su creatividad o sus conocimientos únicos del mercado. Se trata de tomar esos conocimientos y traducirlos en un procedimiento claro y procesable. Cuando exterioriza sus pensamientos internos en un conjunto concreto de pasos, elimina las conjeturas. Reemplaza la ansiedad de la improvisación con la tranquila confianza de la ejecución. Esa conversión de una idea general en algo específico es el primer paso hacia la verdadera maestría en el trading.
Por Qué una Lista de Verificación de Cinco Puntos es su GPS para el Trading
Piense en su estrategia de trading como un destino, y en su lista de verificación de entrada como el GPS que le guía hasta él. Sin el GPS, podría desviarse del rumbo, tomar giros equivocados o, peor aún, perderse por completo. Una lista de verificación de entrada de cinco puntos enfoca sus decisiones de trading, asegurando que solo entre en operaciones que cumplan con criterios predeterminados. Es una herramienta poderosa para la consistencia, convirtiendo un "quizás" subjetivo en un "sí" o "no" definitivo.
El número cinco no es arbitrario; es el punto óptimo. Menos puntos podrían simplificar demasiado y omitir detalles importantes, mientras que demasiados pueden llevar a la parálisis por análisis, haciendo que la lista de verificación sea engorrosa y lenta de ejecutar. Cinco puntos fomentan la concisión y la disciplina, obligándole a destilar los componentes más críticos de su estrategia en un formato fácilmente digerible. Cada punto representa una capa distinta de confirmación, generando confianza en su decisión antes de comprometer capital. Esta estructura le ayuda a filtrar el ruido y a concentrarse en las condiciones específicas que históricamente se alinean con su ventaja de trading.
Este enfoque sistemático hace más que simplemente guiar las entradas; ayuda a construir un historial verificable. Cuando cada operación se adhiere al mismo conjunto de reglas, puede analizar con precisión qué funciona y qué no. Usted va más allá de los sentimientos vagos hacia una mejora basada en datos. Esta claridad es invaluable para refinar su estrategia con el tiempo, permitiéndole adaptarse a los cambios del mercado mientras mantiene sus principios fundamentales. Así es como se progresa de adivinar a ejecutar consistentemente un plan bien pensado.
Deconstruyendo su Estrategia Vaga en Bloques de Construcción
Así que, tiene una idea de trading. Quizás sea algo como: "Quiero comprar tendencias fuertes en retrocesos" o "Venderé cuando el mercado parezca sobrecomprado". Estos son excelentes puntos de partida, pero son demasiado amplios para una lista de verificación. Para convertirlos en reglas accionables, necesita diseccionarlos, desglosándolos en sus componentes individuales. ¿Qué hace que una tendencia sea 'fuerte'? ¿Qué significa 'retroceso' específicamente para usted? ¿Cómo define 'sobrecomprado'? Cada una de estas preguntas necesita una respuesta cuantificable y objetiva.
Este proceso es como un detective investigando un caso. Usted no solo dice: "El sospechoso parece culpable". Recopila pruebas: testimonios de testigos oculares, huellas dactilares, coartadas. En el trading, su evidencia son los datos del mercado: acción del precio, lecturas de indicadores, volumen. Comience escribiendo su idea general de estrategia. Luego, para cada palabra o frase descriptiva, pregúntese: "¿Cómo sé que esto está sucediendo? ¿Qué condición específica y observable debe estar presente para que yo diga que X es cierto?" Esto le obliga a pasar de la interpretación subjetiva a la medición objetiva. No tema ser excesivamente detallado en esta etapa; siempre podrá refinar y simplificar más tarde.
Una vez que tenga estas piezas individuales de evidencia, puede comenzar a ensamblarlas en un flujo lógico. Aquí es donde su estrategia comienza a tomar forma, pasando de un concepto nebuloso en su cabeza a un conjunto concreto de criterios. El objetivo es eliminar cualquier ambigüedad, sin dejar espacio para la interpretación emocional durante el trading en vivo. Esta es la parte que la mayoría de las guías omiten, asumiendo que usted ya tiene una estrategia perfecta. Pero la mayoría de los traders comienzan aquí, con una idea que necesita una definición precisa.
Deconstruyendo Ideas de Trading Vagas en Elementos Medibles
| Idea de Estrategia Vaga | Preguntas Específicas a Hacer | Hacia Criterios Objetivos |
|---|---|---|
| Comprar 'tendencias fuertes' en 'retrocesos' | ¿Qué define una 'tendencia fuerte'? ¿Qué es un 'retroceso'? | El precio está por encima de la EMA de 20 períodos, la EMA es ascendente; El precio toca la EMA de 20 períodos pero no cierra por debajo de ella. |
| Vender cuando el mercado 'parece sobrecomprado' | ¿Cómo mido objetivamente la 'sobrecompra'? | El RSI (14) cruza por encima de 70; El precio está 2 desviaciones estándar por encima de la Banda de Bollinger de 20 períodos. |
| Operar 'rupturas' después de una 'consolidación' | ¿Qué es una 'consolidación'? ¿Qué es una 'ruptura'? | El precio ha operado dentro de un rango de 50 pips durante al menos 10 velas; El precio cierra 5 pips más allá del máximo/mínimo del rango. |
Primera Línea: Estableciendo el Entorno del Mercado
El primer elemento de su lista de verificación siempre debe establecer el escenario. ¿En qué tipo de mercado se encuentra? ¿Tiene una tendencia fuerte, se mueve lateralmente en un rango o es extremadamente volátil? Intentar aplicar una estrategia de seguimiento de tendencia en un mercado en rango, o viceversa, es como intentar usar un martillo para meter un tornillo; simplemente es la herramienta equivocada para el trabajo. Definir el entorno del mercado le ayuda a filtrar las operaciones que no se ajustan a las condiciones óptimas de su estrategia.
Sea específico aquí. En lugar de "el mercado tiene tendencia", escriba algo como: "El precio está por encima de la Media Móvil Exponencial (EMA) de 50 períodos y la EMA de 20 períodos está por encima de la EMA de 50 períodos, ambas con pendiente ascendente." O para un mercado en rango: "El precio ha rebotado entre niveles de soporte y resistencia dentro de un canal de 75 pips durante al menos 24 horas." Incluso podría incorporar un análisis de marcos temporales superiores: "El gráfico diario muestra una clara tendencia alcista (definida por máximos y mínimos crecientes) antes de considerar una compra en el gráfico de 4 horas." Esto asegura que está operando a favor de la corriente principal, no en contra.
Este paso le impide tomar decisiones impulsadas por emociones basadas en una sola vela o una fluctuación de precios a corto plazo. Le obliga a mirar el panorama general y confirmar que las condiciones predominantes son favorables para su enfoque elegido. Sin este primer filtro, esencialmente está apostando, esperando que el mercado se comporte de una manera que se adapte a su operación, en lugar de alinear su operación con cómo se está comportando realmente el mercado.
Segunda Línea: Identificando su Señal de Configuración
Una vez que haya confirmado el entorno del mercado, el segundo elemento de su lista de verificación se centra en la 'configuración' específica que le indica que se está formando una oportunidad de trading potencial. Este aún no es el disparador para entrar; es el patrón o la confluencia de indicadores que señala que su estrategia está a punto de activarse. Por ejemplo, si su estrategia es comprar retrocesos en una tendencia alcista, su configuración podría ser: "el precio ha retrocedido a la EMA de 20 períodos." O, si busca reversiones, podría ser: "divergencia de RSI (14 períodos) identificada en el gráfico de 4 horas, con el precio haciendo un nuevo mínimo mientras el RSI hace un mínimo más alto."
La clave es definir esta configuración con criterios objetivos y medibles. Evite frases como "el precio se ve bien" o "el impulso se siente fuerte." En su lugar, use niveles de precio específicos, valores de indicadores o patrones de velas. Por ejemplo, si utiliza retrocesos de Fibonacci, su configuración podría ser: "el precio retrocede al nivel de Fibonacci del 61.8% desde el máximo de oscilación anterior al mínimo de oscilación." Esta especificidad le ayuda a identificar patrones repetibles y evita interpretaciones subjetivas que pueden conducir a resultados inconsistentes.
Esta línea de configuración actúa como un prefiltro. No todas las tendencias fuertes le darán una configuración que se ajuste a sus criterios, y ese es precisamente el punto. Está esperando que el mercado se presente de una manera muy particular, en lugar de perseguir cada movimiento de precio. Esta paciencia, impuesta por su lista de verificación, es una ventaja significativa, ya que reduce el número de operaciones que realiza pero aumenta la calidad de las oportunidades que persigue. Se trata de ser selectivo, no solo activo.
Operar sin una estrategia precisa es como construir un mueble complejo sin instrucciones; puede que tenga suerte, pero no repetirá el éxito de forma fiable.
Tercera Línea: El Disparador de Entrada Exacto
Esta es la señal de 'ir'. Su entorno de mercado es el correcto, su configuración está en su lugar, y ahora necesita el disparador definitivo que le indique que es el momento de entrar en la operación. Este debe ser un evento inequívoco que señale el momento inmediato de ejecución. Sin un disparador preciso, corre el riesgo de entrar demasiado pronto (antes de que la configuración se confirme) o demasiado tarde (perderse la mayor parte del movimiento).
Ejemplos de disparadores incluyen: "El precio cierra por encima del nivel de resistencia en el gráfico de 1 hora," "Se forma una vela envolvente alcista en el nivel de soporte," o "El Oscilador Estocástico (14,3,3) cruza por encima de 20 desde abajo." También podría ser una ruptura de una línea de tendencia o un patrón específico de acción del precio en su marco temporal de entrada. La parte crítica es que sea un evento claro y observable que no deje lugar a dudas. No se trata de cómo siente que se mueve el precio; se trata de lo que el precio hace.
Muchos traders se equivocan en este paso al anticipar el disparador. Ven la configuración formándose y se lanzan, esperando que el disparador siga. Este es un error común que conduce a entradas prematuras y stop-outs dolorosos. Espere a que el disparador realmente ocurra. No opere lo que cree que sucederá; opere lo que está sucediendo. Esta disciplina, impuesta por su lista de verificación, es vital para una sincronización adecuada y una gestión eficaz del riesgo.
Tipos Comunes de Disparadores de Entrada y Sus Definiciones Objetivas
| Tipo de Disparador | Definición Objetiva | Ejemplo |
|---|---|---|
| Cierre de Vela | La vela debe cerrar completamente por encima/debajo de un nivel clave. | El precio cierra por encima de 1.0850 en el gráfico de 30 minutos para EUR/USD. |
| Retesteo de Ruptura | El precio rompe un nivel, luego regresa a retestearlo antes de continuar. | El precio rompe el 1.3000, luego retrocede y toca el 1.3000 desde arriba, confirmando el soporte. |
| Cruce de Indicadores | Dos líneas de indicadores se cruzan en una dirección específica. | La línea MACD cruza por encima de la línea de señal mientras ambas están por debajo de la línea cero. |
| Patrón Específico | Un patrón de velas o gráfico predefinido se completa. | Una 'inside bar' se forma en un nivel de soporte, indicando indecisión antes de una posible reversión. |
Línea Cuatro: Definiendo su Stop Loss y Tamaño de la Posición
Esta es, posiblemente, la línea más importante de su lista de verificación porque protege su capital. Su stop loss define su pérdida máxima aceptable en una operación, y su tamaño de la posición determina cuántas unidades operará basándose en ese stop loss. Nunca, bajo ninguna circunstancia, entre en una operación sin saber exactamente dónde estará su stop loss y cuánto puede perder. Esto no es solo una buena práctica; es fundamental para mantenerse en el juego.
Su stop loss debe colocarse en un nivel lógico donde su idea de operación quede invalidada. Si está comprando en un soporte, su stop podría estar justo por debajo de ese nivel de soporte. Si está vendiendo en una resistencia, podría estar justo por encima. No debe ser un número arbitrario de pips, sino un punto donde, si se alcanza, le indique que su análisis inicial fue incorrecto. Por ejemplo, "Stop loss 5 pips por debajo del mínimo de la vela de activación" o "Stop loss 10 pips por debajo del nivel de soporte estructural en 1.0920."
El tamaño de la posición entra entonces en juego. Si arriesga el 1% de su cuenta por operación, y su cuenta es de $10,000, puede perder $100. Si su stop loss está a 20 pips de distancia, y está operando EUR/USD donde 1 pip por lote estándar es de $10, puede operar 0.5 lotes estándar ($100 / (20 pips * $10/pip)). Esto asegura que, incluso si se equivoca, la pérdida sea manejable y no afecte significativamente su capital total. Este cálculo debe realizarse antes de la entrada. Brókers como Pepperstone e IC Markets proporcionan calculadoras para esto, pero conocer el proceso manual es crucial. La intervención de ESMA, por ejemplo, limita el apalancamiento para clientes minoristas en pares de divisas principales a 1:30, lo que impacta directamente cuántas unidades puede controlar con un margen dado, pero su riesgo por operación sigue siendo una función de su stop loss y el porcentaje de su cuenta, no solo del apalancamiento.
Línea Cinco: Elaborando su Objetivo de Ganancia o Plan de Gestión
La línea final de su lista de verificación dicta su estrategia de salida. Tan importante como saber dónde entrar y cómo gestionar el riesgo, necesita un plan claro para tomar ganancias o gestionar una operación ganadora. Sin esto, corre el riesgo de que las operaciones ganadoras se conviertan en perdedoras, o de mantener operaciones mucho más allá de su punto de salida óptimo debido a la codicia o la indecisión. Esta línea define su objetivo para la operación.
Su objetivo de ganancia puede ser un nivel fijo, como "Objetivo de ganancia en el próximo nivel de resistencia principal en 1.1050," o "Buscar una relación riesgo-recompensa de 1:2 desde la entrada." Alternativamente, podría ser un plan de gestión dinámico, como "Mover el trail stop loss por debajo de la EMA de 20 períodos una vez que el precio se mueva 50 pips a favor" o "Tomar el 50% de las ganancias a 100 pips y dejar que el resto corra con un stop loss en punto de equilibrio." El método específico dependerá de su estrategia y estilo de trading, pero la clave es tenerlo definido antes de entrar.
Esta línea aporta completitud a su plan de trading. Es el equivalente a planificar el destino de su viaje antes de salir de casa. Saber a dónde va y cómo saldrá le permite operar con propósito, reduciendo la tentación de tomar decisiones impulsivas a medida que avanza la operación. También le proporciona una métrica clara para evaluar la eficacia de su estrategia: ¿está alcanzando consistentemente sus objetivos, o sus objetivos son demasiado ambiciosos o demasiado conservadores? Este ciclo de retroalimentación es esencial para la mejora continua y la construcción de una carrera de trading rentable.
Construyendo su Lista de Verificación Personal: De Cero a Estrategia
Ahora que comprende los componentes, es hora de construir el suyo propio. Tome un bolígrafo y papel, o abra un documento en su ordenador. Comience con la estrategia general con la que ha estado trabajando. Luego, para cada una de las cinco líneas—Entorno de Mercado, Señal de Configuración, Disparador de Entrada, Stop Loss/Tamaño de la Posición y Objetivo de Ganancia/Plan de Gestión—escriba las reglas específicas, objetivas y cuantificables que se aplican a su estrategia. No deje lugar a 'aproximaciones' o 'alrededores'. Cada condición debe ser en blanco y negro.
Por ejemplo, si su estrategia se basa en operar cruces de medias móviles en mercados en tendencia, su lista de verificación podría verse así:
- Entorno de Mercado: En el gráfico de 4 horas, el precio está por encima de la EMA de 200, y la EMA de 50 está por encima de la EMA de 200, ambas con pendiente ascendente.
- Señal de Configuración: En el gráfico de 1 hora, el precio retrocede hasta tocar la EMA de 50.
- Disparador de Entrada: Una vela envolvente alcista cierra por encima de la EMA de 50 en el gráfico de 1 hora después del retroceso.
- Stop Loss y Tamaño de la Posición: Stop loss colocado 5 pips por debajo del mínimo de la vela envolvente alcista. Tamaño de la posición calculado para arriesgar el 1% del capital de la cuenta basándose en esta distancia de stop.
- Objetivo de Ganancia: Buscar una relación riesgo-recompensa de 1:2, o en el próximo nivel de resistencia principal, lo que ocurra primero.
Este proceso es iterativo. Su primer borrador no será perfecto. Lo refinará a medida que realice backtesting y forward testing de su estrategia. El objetivo es la claridad y la consistencia. Una vez que tenga su lista de verificación, comprométase a usarla para cada operación. Sin excepciones. Este compromiso es el puente entre tener un plan y ejecutarlo con disciplina.
Los Beneficios Ocultos: Disciplina y Seguimiento Objetivo del Rendimiento
Más allá de simplemente estructurar su entrada, una lista de verificación de cinco líneas ofrece profundos beneficios psicológicos. Cuando tiene un plan claro y objetivo por escrito, elimina gran parte de la presión emocional del trading en vivo. El miedo a perderse algo (FOMO) disminuye porque sabe que solo entrará cuando se cumplan sus condiciones específicas. La tentación de realizar operaciones de venganza después de una pérdida se frena porque su lista de verificación no permite tales acciones impulsivas. Simplemente está ejecutando un proceso probado.
Este cambio de la toma de decisiones emocional a la ejecución sistemática es una piedra angular del trading profesional. Le permite abordar cada operación como un evento estadístico, en lugar de una apuesta de todo o nada. Este desapego es crucial para mantener la calma bajo presión y tomar decisiones racionales. Una lista de verificación hace que su trading sea cuantificable. Cada operación puede revisarse según sus criterios: ¿Seguí las cinco líneas? ¿Dónde me desvié? Este ciclo de retroalimentación preciso es invaluable para el aprendizaje y la mejora.
Brókers como OANDA y FOREX.com ofrecen herramientas avanzadas de registro de operaciones (journaling) que combinan perfectamente con un enfoque de lista de verificación, permitiéndole registrar el resultado de cada operación según sus reglas de entrada específicas. Al aplicar consistentemente su lista de verificación y revisar su rendimiento en función de ella, desarrollará una comprensión profunda de las fortalezas y debilidades de su estrategia. Desarrollará la disciplina necesaria para ceñirse a su plan, incluso cuando los mercados sean volátiles o parezcan surgir oportunidades tentadoras fuera de sus reglas. Esto no se trata solo de ganar dinero; se trata de construir una práctica de trading sostenible y resiliente.
Lea la fuente primaria
Compruébelo con el regulador, no con nosotros
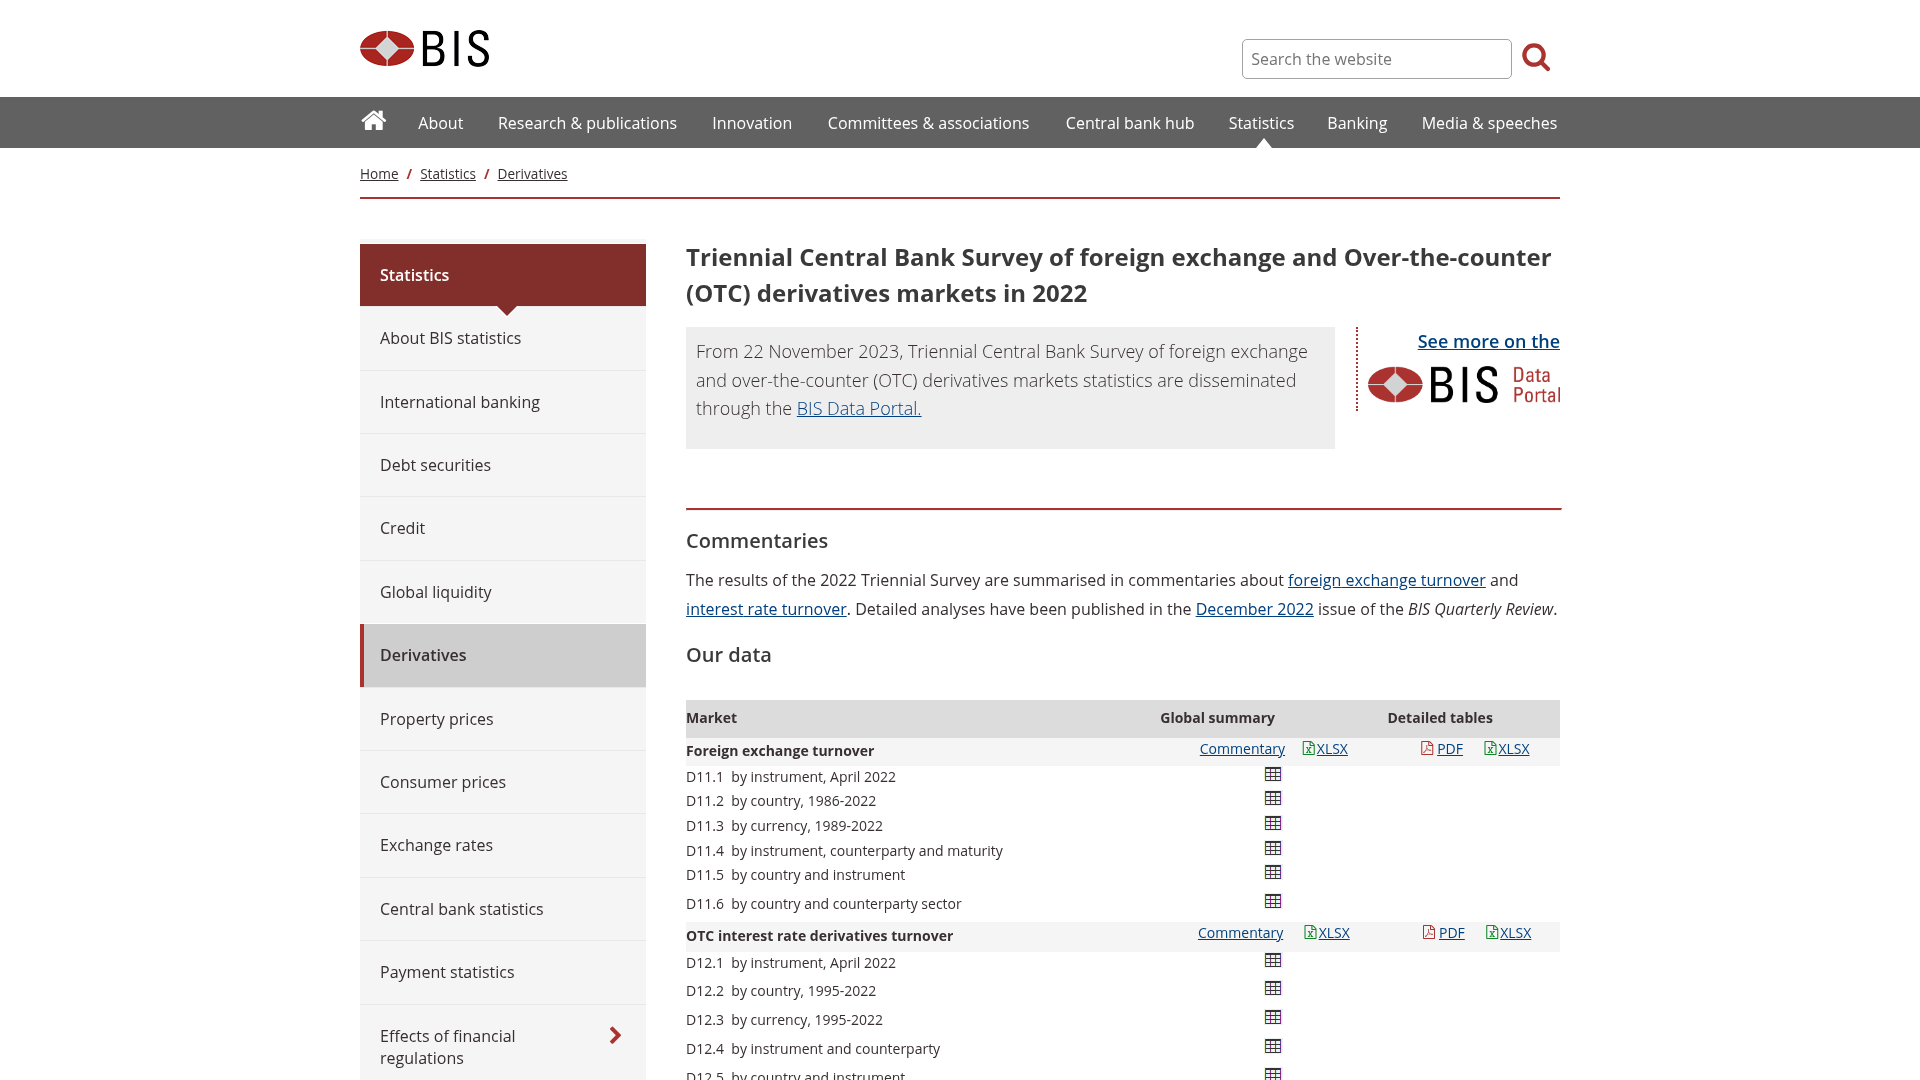
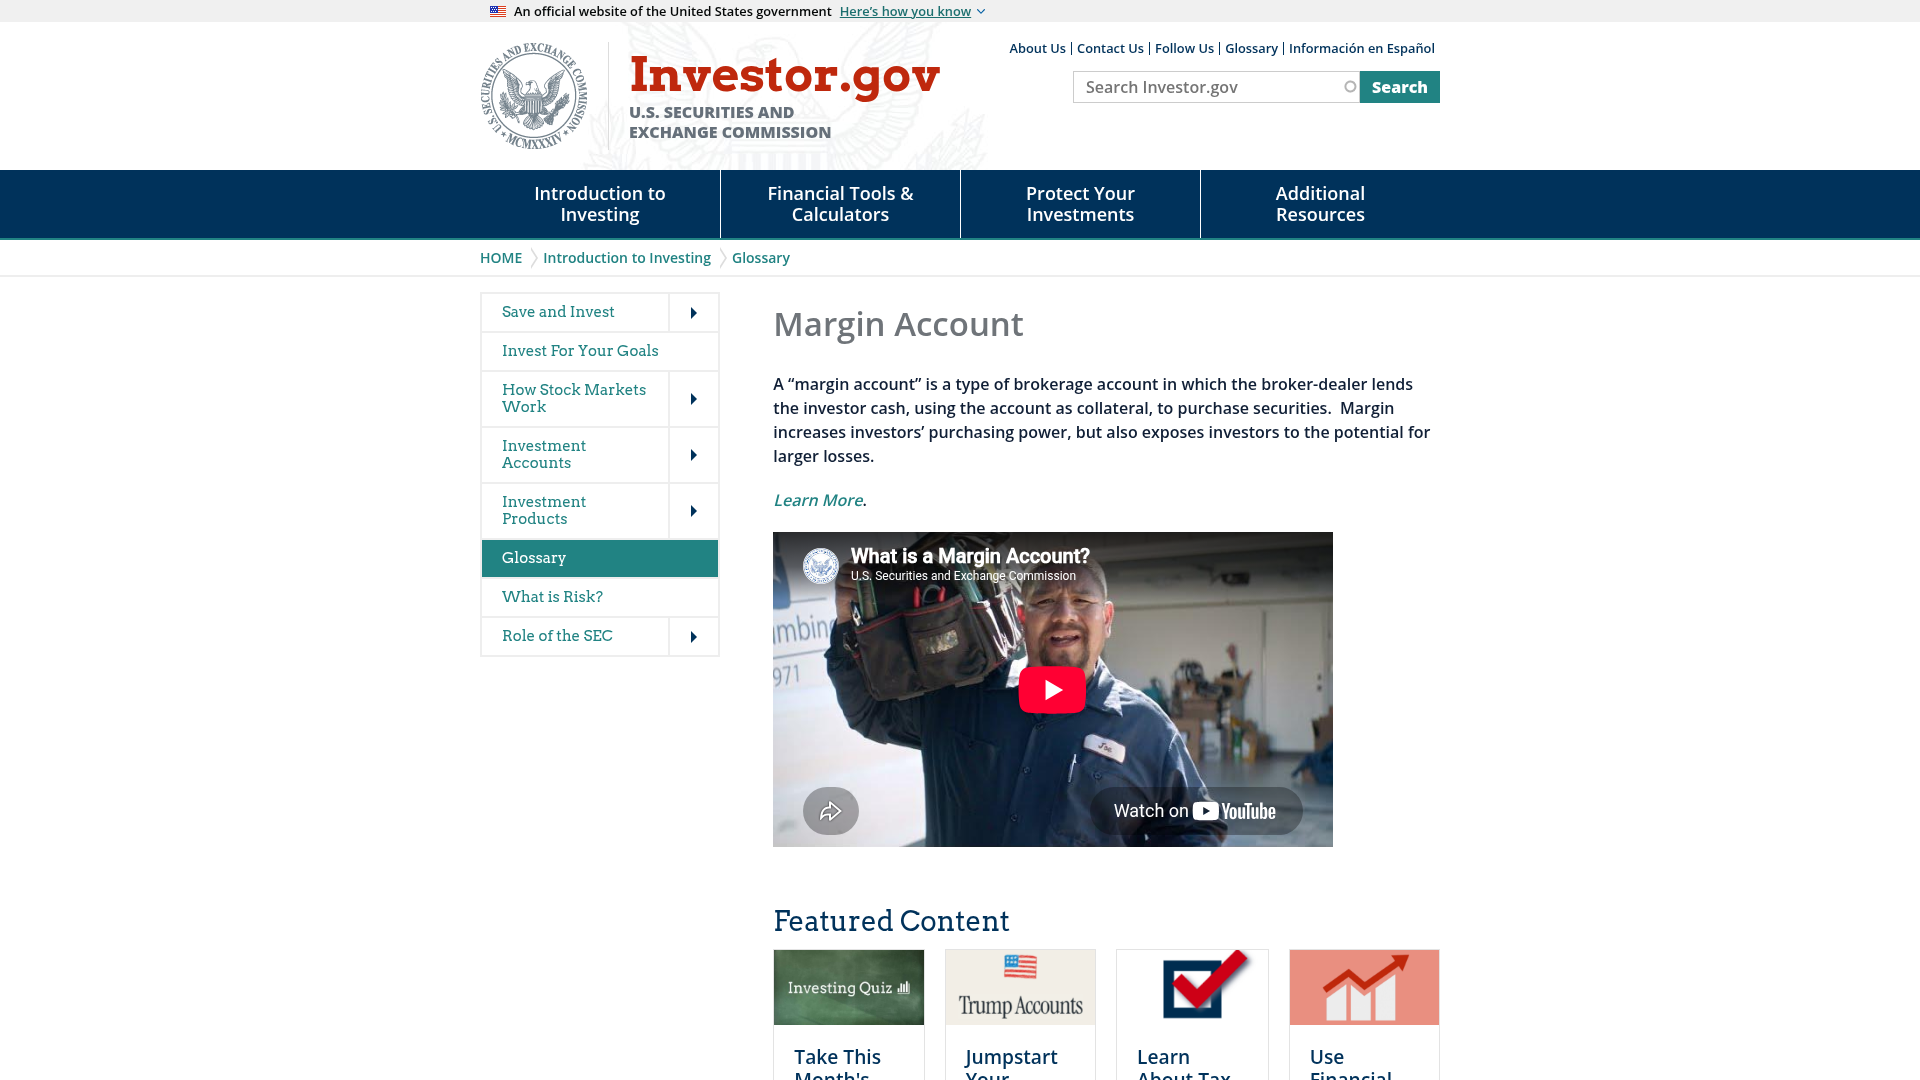
Capturas de pantalla de las páginas oficiales que respaldan las reglas de esta guía. Ábralas usted mismo — las palabras del regulador siempre superan a un resumen.
Preguntas frecuentes
Fuentes
De dónde viene esto
Escrito por Elena Marsh
Instructor Principal. Escribimos formación estructurada y en lenguaje sencillo sobre forex para personas que aprenden desde cero. Primero la comprensión, siempre — y nunca asesoramiento financiero. El curso en sí reside en el plan de estudios.
Sigue aprendiendo
A dónde lleva esta guía después
Las guías relacionadas, en el orden en que se construyen a partir de esta. Cada una es una lectura completa por sí misma, y ninguna asume que ya hayas terminado esta página.
- Setups de Trading: Creando Reglas Tan Claras Que Un Robot Podría SeguirlasAprenda a transformar ideas de trading vagas en estrategias precisas y comprobables que eliminen las conjeturas y mejoren su…
- De la Idea a la Ejecución: Elaborando un Sólido Plan de TradingUna idea de trading brillante es solo un pensamiento; transformarla en un plan claro y accionable es donde los traders exitosos…
- Identificando un Patrón en un Gráfico: Cómo Poner a Prueba Sus Ideas de TradingAprenda a ir más allá de la observación esperanzadora de gráficos, probando sistemáticamente sus ideas de trading con backtesting y…
- Dudas al Entrar: Una Solución Práctica para el Clic CongeladoAprenda a superar las dudas en el trading construyendo reglas de entrada claras, gestionando el riesgo y confiando en su proceso…
- Realizando un Backtest Manual Exhaustivo con Bar ReplayRealizar un backtesting manual de su estrategia de trading con herramientas de bar replay le ayuda a desarrollar una comprensión…